Way back in September or so, I ran out of gas on my grill. Since it was getting colder and the weather was getting nastier, I kept postponing the refill (or forgetting if that’s what you want to call it…)
When buying all my seeds and soil and stuff for my garden, I realized I could buy my refill right there and so next to gardening season, grilling season was opened again as well.
I started out grilling some of the best burgers I’ve ever grilled. Good quality beef with some great seasoning and grated semi-aged farm cheese. It doesn’t get much better than that if you talk burgers. Grilling, however, can always get better when you move on to ribs. I’ve mentioned my ribs on here before. Seasoned with an award winning rub and slowly cooked away from direct heat with some good smoking chips added to the grill.
When mentioning those ribs back them, I also mentioned that the key to awesome ribs, is the removal of the membrane. It allows the flavors to truly seep through, not only the seasoning, but the smoke as well. And the slow grilling makes them fall-of-the-bone delicious. Sure, full on smoking them for 12 hours as they do in great BBQ joints is better. I’m not going to deny that. But if you have a busy life doing it my way will still give you awesome ribs, without having to spend 12 hours.
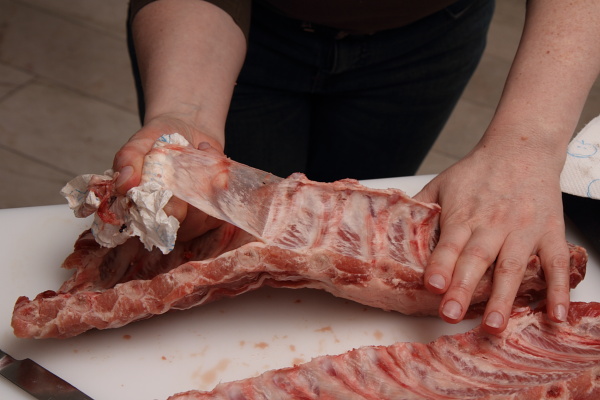
As soon as you know how it’s done, it really is very easy. You take a regular dinner knife, with a rounded top, and pry it under the membrane in a corner somewhere. You just need to lift it a little to get a start. Don’t use a very sharp knife, as that’ll just tear the membrane.
Once you have a little starting point, you just pull. The membrane and the ribs will be slippery, so holding the membrane with a paper towel while you pull makes this job a whole lot easier.
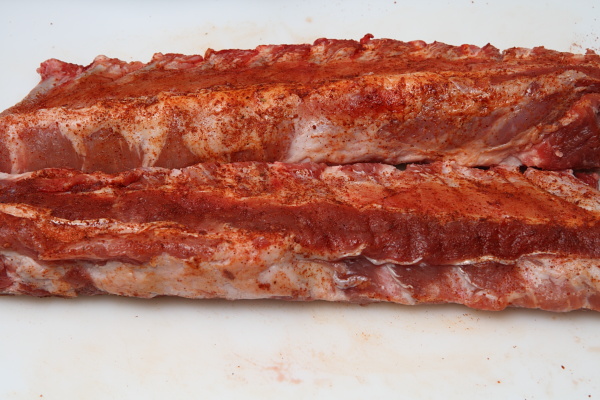
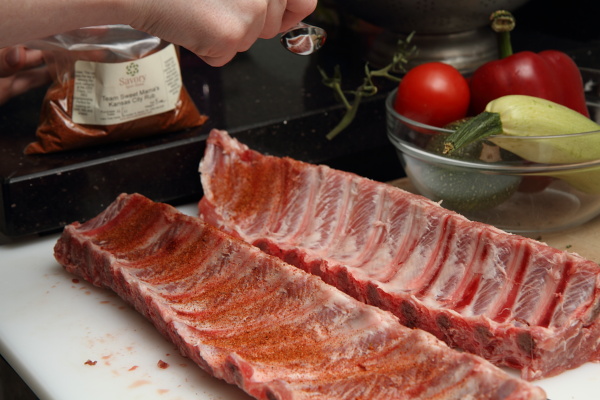
Once all the membrane is taken off (you might have to do it in pieces, if it rips), you season your ribs on all sides with a good rib rub and let it sit for a short time while you heat up the grill.
We’re using indirect heat, so light only 1 half of the grill. Place an aluminum bowl with some smoke chips over the flames. The directions for your smoke chips will be on the bags. Some need to be soaked, some don’t.
Close the lid and let the grill heat up. As soon as you see some smoke escaping, your grill is ready to put the ribs on there.
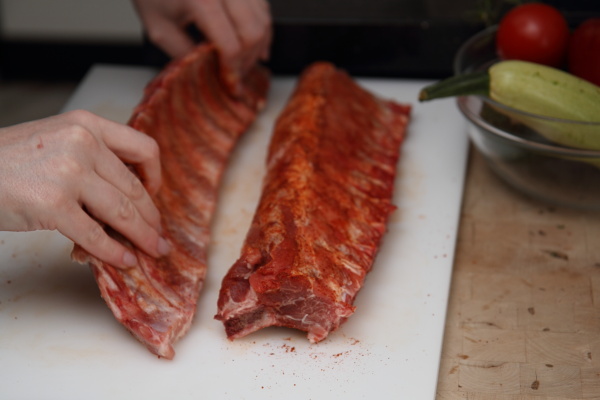
Make sure you give your ribs a good rub before putting them on the grill, it really helps them soak up the flavor.
Place the ribs on the other side of the grill, the side where there is no fire. Check on them after about half an hour, turn them over and brush them with a solution of vinegar, ketchup and the rib rub. Continue doing so every 20 to 30 minutes until the meat is fully cooked. Depending on the thickness of the ribs this may take between 1 to 2 1/2 hours. If it’s going too slow you may place it closer to the flames (or even on top) after an hour to speed things up.
Make sure the temperature under the hood of your grill is always between 125 and 150 degrees celsius, lower than that and it will actually take forever.
Enjoy your fall off the bone, delicious, awesome smoky ribs.
One Response to Back to the grill
Leave a Reply to Beglaubigte Übersetzung Cancel reply
What’s cooking?
Previous meals
Other kitchens
- Beef and Steak (Dutch)
- Cocina para emancipados
- Condensed Stew
- Cooking with Marica
- Cuca Brazuca
- Dirty Kitchen Secrets
- Emiko Davies
- Fabulicious Food
- Foodwise
- Hummingbird Appetite
- I am a feeder
- Jul's Kitchen
- Junglefrog Cooking
- Küchenlatein
- Lawyer loves lunch
- More than a mount full
- My Custard Pie
- Soul Curry
- The Baking Bluefinger
- The Creative Pot
- The leftover queen
- Will travel for food
- Zizi's adventures
Friends and family
In my kitchen
11 in '11 Almonds A new place to cook! Anne-Sophie Bacon Basil Beef Biscuit Bread Butter Cake Cheese Chicken Chocolate Coffee Cookie Cream Cream cheese Eggplant Eggs Fresh herbs Garlic Herbes de Provence Italian Leek Mushrooms Old Fashioned Cooking Olive oil Onion Oven Pasta Pork Potatoes Puff pastry Pumpkin Restaurant Silver Spoon soy sauce Spring Summer Tomatoes Tortilla Vanilla Wine Winter
- Would you like to get in touch, please don't hesitate to contact me via my contact form.
My kitchen gadget store:
Latest kitchen talk
Translate this blog
but don't expect it to make perfect sense!







My husband will love it! His absolute favourites are ribs